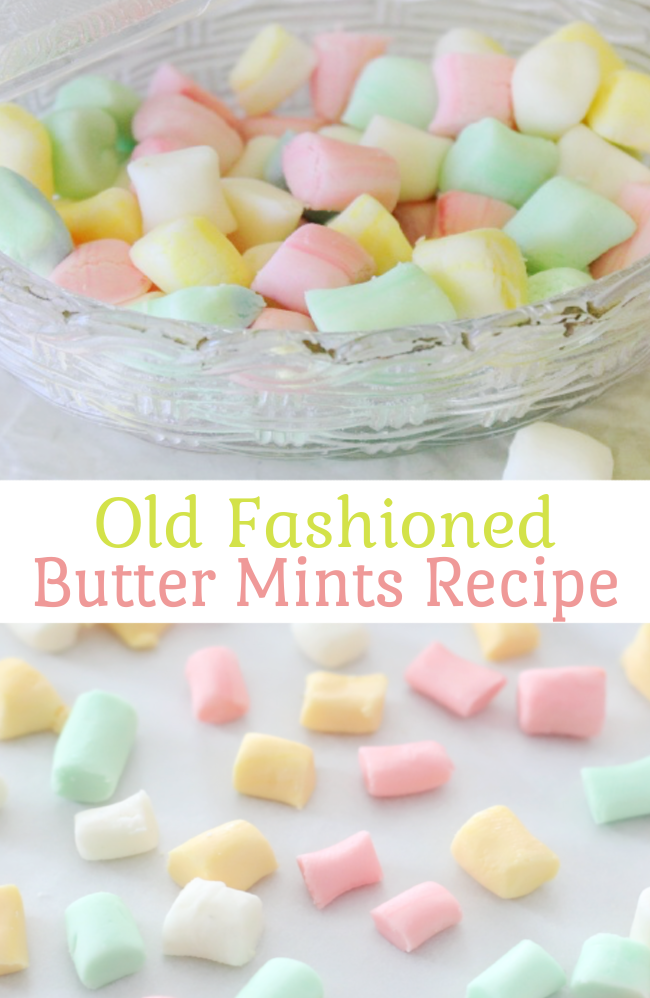
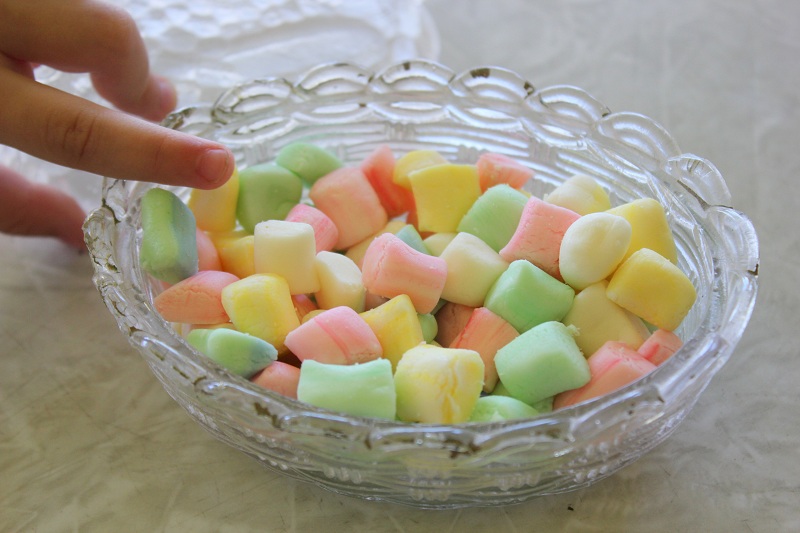
What Are Butter Mints?
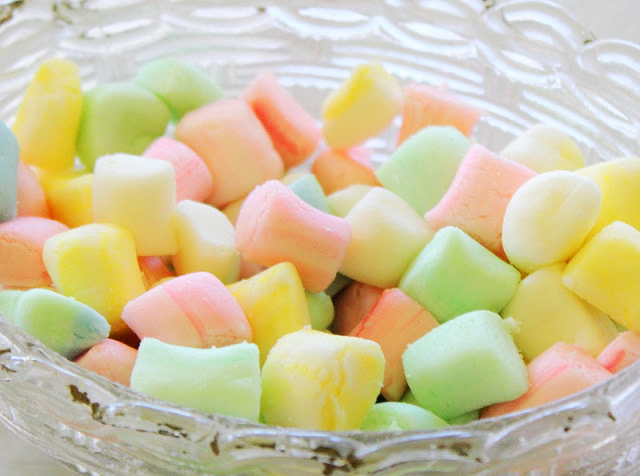
Butter mints are often served at weddings and parties. They come in a variety of colors and are hard in texture until you pop them in your mouth. Then they become soft and melt in your mouth.
My kids and I LOVE old-fashioned butter mints. I remember my grandparents putting butter mints out for my aunt’s wedding when I was a child. She had two receptions, and I think most of my memories revolve around playing with my cousins and eating the butter mints and mixed nuts off of the tables. With 7 daughters, they went through a lot of butter mints for all of those wedding receptions.
Flavoring Butter Mints
I use peppermint extract. I also have peppermint flavoring oils (NOT to be confused with essential oil). The flavoring oils are more potent and require less, but the flavor is very similar.
You can flavor these using any flavor of extract you like, but peppermint is my favorite.
Storing Mints
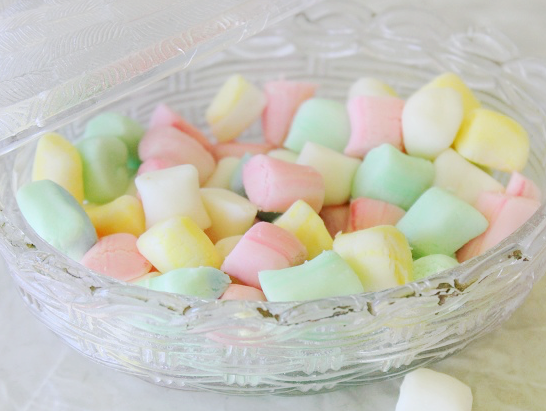
There aren’t any preservatives in homemade butter mints and they are slightly softer than their store-bought counterparts. The butter will make them soften and stick together so it is best to store them in the refrigerator after drying out.
Old-Fashioned Butter Mints Recipe
recipe adapted from Averie Cooks

Old Fashioned Butter Mints
Equipment
- mixing bowl
- electric mixer
- Pizza Cutter
- cutting board
- measuring cups and spoons
Ingredients
- 1/4 cup butter softened
- 3 1/4 cups powdered sugar
- 1/3 cup sweetened condensed milk
- 1/2 teaspoon extract peppermint, cinnamon, lemon, etc.
- 1/2 teaspoon vanilla
- food coloring variety of colors
Instructions
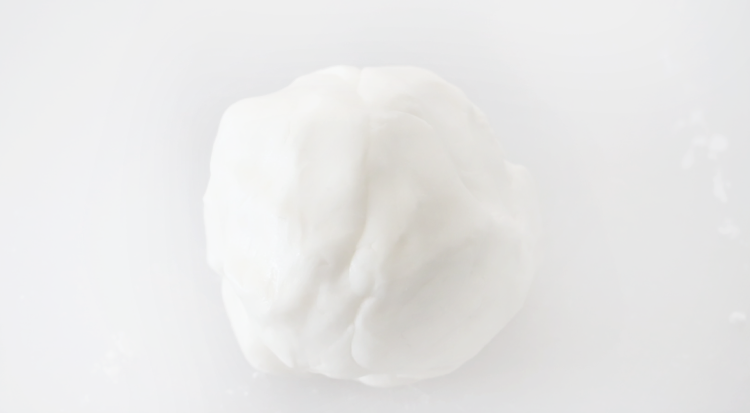
- Beat butter using electric mixer until smooth, 30-45 seconds.
- Add powdered sugar, milk, peppermint extract (or any other kind of extract) and vanilla, and mix until a dough forms. Add an additional 1/4 cup of powdered sugar if the dough is too sticky.

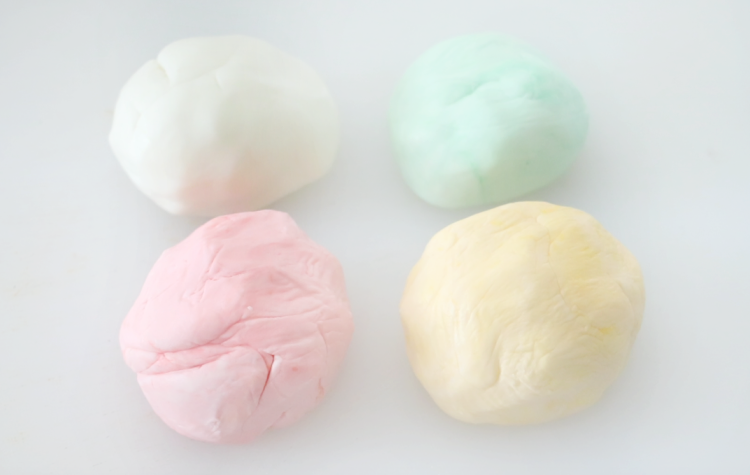
- Divide dough into 3 or 4 portions for coloring. Add a few drops of coloring and knead into dough.Tip: If you have a Kitchenaid mixer you can use the paddle attachment to color the dough or use gloves to color the dough by hand to save your fingers from staining.

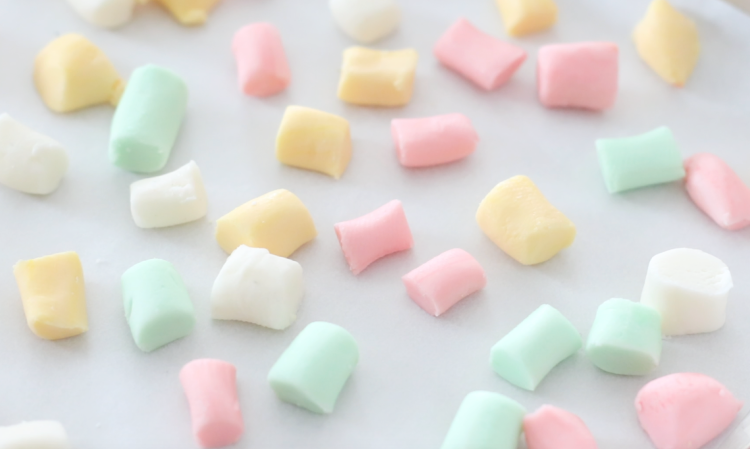
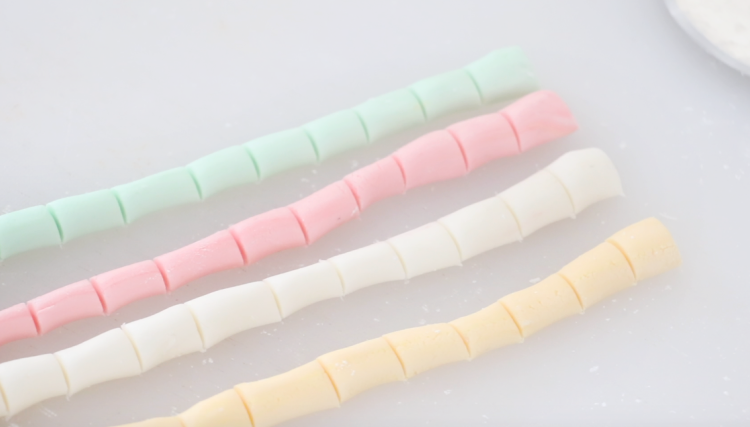
- Pinch off a 2" ball of colored dough and roll out into long ropes. Cut each rope into tiny bite sized pieces using a pizza cutter on a cutting board.

- Let candy dry on baking sheet for 24 hours.

Notes
Nutrition

Welcome! I'm Brandy, mother to 5 darling kiddos and a cute black lab named Toby. My husband is in the Coast Guard so we've lived all over the place, turning each house into a home. I love baking, sewing, making cute things with my kids, and sharing what I've learned with all of you!
So glad that you made these. I have been wanting to try the recipe, but wasn’t sure how well they’d come out. Yippee…I’ll have to make these soon.
Life. Changing. I had NO idea you could make butter mints and I have a good working knowledge of candy! I’m so pleased that you shared this!
My hubby really loves mints. Whenever we find a good mint at a restaurant we always sneak a huge handful. I’ll have to try these for sure. I’d love it if you shared this at my link party. http://acraftycook.blogspot.com/2012/08/1-month-of-fun-august-link-party.html
Yummy these look great.. What a great blog it makes me hungry lol check out my food blog if you get a min and have not done it already..
http://www.thedailysmash101.blogspot.com
Mmmmmm. I am excited to try these! 😀
Melissa http://www.mywatermelonmoon.com, I am (now) a follower and I would appreciate you following along with me too! Have a fabulous day!
Yummy! My recipe for mints is very similar but I use cream cheese. I would love for you link this up at my first LINK PARTY!
http://www.thecreativeorchard.blogspot.com/2012/08/tutorial-link-party.html
Yum! I have always loved eating these when they are served at parties but I never learned to make them myself. Can’t wait to try this recipe. Thanks!
I could seriously eat buttermints by the pound! What a great recipe! We’d love for you to share this at our party! http://housewivesofriverton.blogspot.com/2012/09/riverton-housewives-round-up-31.html
WOW! These look amazing! I have to try them. I wonder if you could use a piping bag with a large tip, like a star tip, and make a cool shape…
Aaaaaw…I remember these from when I was little. My grandma used to have these on her table whenever we went to visit her. I will have to give these a try. Thanks for sharing the recipe!
Oh. my. gosh. I love those mints. I will HAVE to make some. I am pinning this immediately! Thanks for sharing!
Laura @ The Experimental Home
Those look great…. I have never made them, but need to. 🙂
I have always loved butter mints since I was a kid and my mom used to make them for weddings. Great recipe. Thanks for sharing at #HomeMattersParty
These looks so yummy!Thank you for sharing on Merry Monday! Have a great week!
Kim
My mom used to have butter mints every time we had company over for dinner! These look delicious!
These butter mints caught my eye since I have always loved them. When I clicked for the recipe, it said that that link was no longer available. I was dissapointed. Maybe I will try back again and see if I can get it. I found you at Tasty Tuesdays link party.
I just love Butter Mints and a perfect mint for the June celebrations! Your post is awesome and thanks so much for sharing it with us at Full Plate Thursday. Hope you are having a great day and come back to see us real soon!
Miz Helen
These are my favorite even as a kid. I added 1 teaspoon mint instead of half and go the perfect mint! Thank you again for sharing! I will be posting on my food page and will be giving you credit 😉
So glad to hear!! Thank you!
My niece is using a dark green for one of her wedding colors. Has anyone tried to dye these mints darker colors?
These were AMAZING!!!!!
So glad to hear, Lily!
I just made your mints for my Christmas goodie gift packs. Thank you soooooo much! Simple, easy, and FABULOUS! Next I’ll try another fun flavor!
Love it! Let me know what flavor you end up making next!