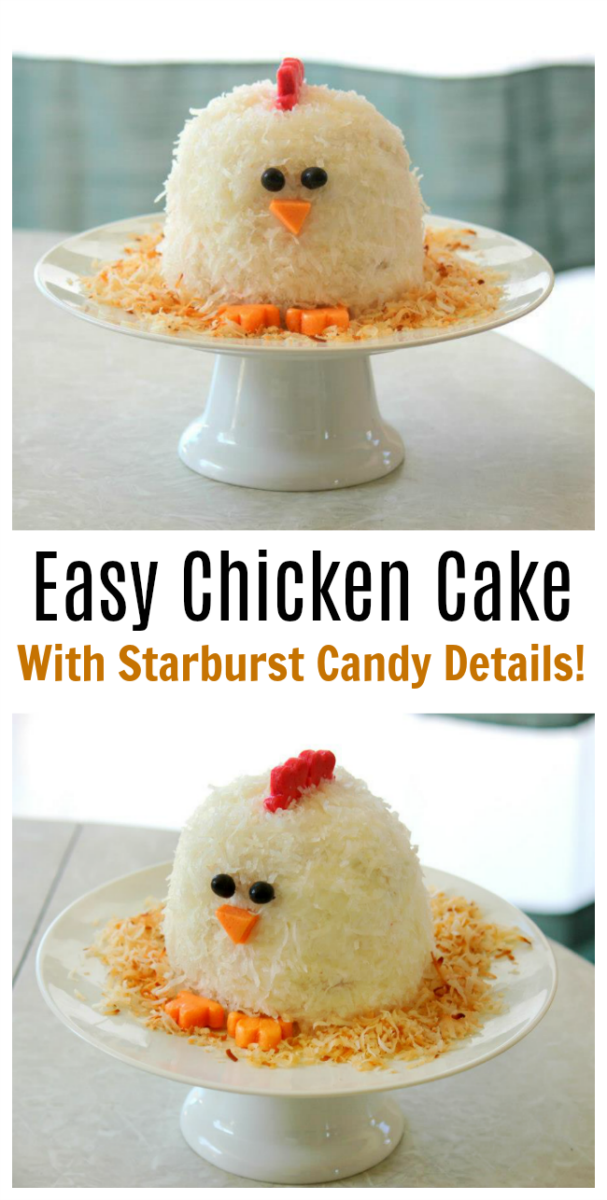
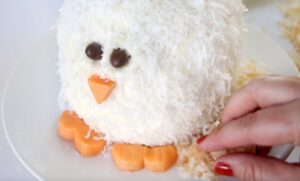
A chicken cake that is as delicious as it is cute! The perfect little cake for a first birthday. Would you believe that the details are made out of Starburst candies? Yep! No fondant! Super easy to decorate, I'll show you how!
If you like adorable cakes that are so easy to make you need to check out our pigicorn cake. No, that's not a type-o. A PIGICORN cake!
Watch our step by step video!
This post was originally shared in 2012. It was my daughter's first birthday cake and she asked me to make it again for her 9th birthday so we decided to make a video this time!
This chicken was probably the simplest cake I've ever made....and my favorite. What I love about this cake is how simple it is to put together. You can make everything from scratch or you can buy cake mixes and a tub of frosting. And guess what? NO FONDANT. The comb, beak, and feet are made out of Starburst candies.
Little Chicken Cake With Starburst Candy Details
Supplies
- 3 (6") round cakes
- Frosting
- Starburst candies
- Jelly Beans
- Coconut
How To Assemble Chicken Cake
- You can easily make 3 (6") cakes out of two boxed cake mixes. I filled the pan with about 1 ½ cups of cake batter. One container of frosting is enough to coat the cake, but you can definitely make your own. Here is a delicious buttercream frosting recipe.
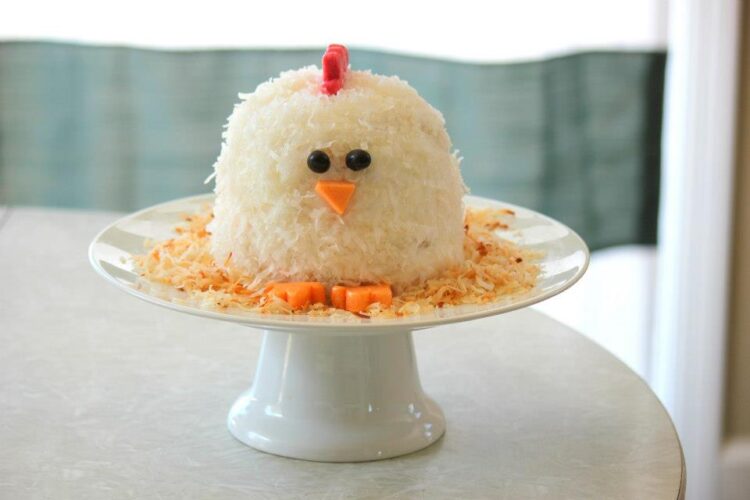
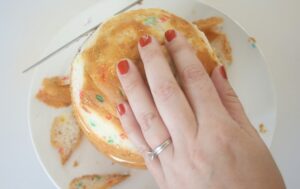
- Level off two of the cakes, but leave the 3rd as is. Then stack them, frost them, and shave the top to have a bit more of a dome shape.
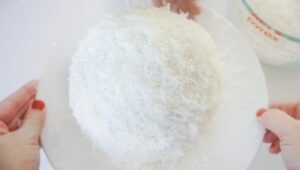
- It doesn't matter if your frosting looks like a mess because you are going to cover everything in coconut anyways.
- The eyes were made from a black jelly bean. Not a Jelly Belly, but a plain old jelly bean since it is larger. Cut it in half, placed a toothpick in the back of each section, and place it on the cake for the chicken's eyes. If you can't find a jelly bean you can use milk duds, chocolate-covered peanuts or M&Ms.
How To Make Chicken Cake Details Out of Starburst Candies

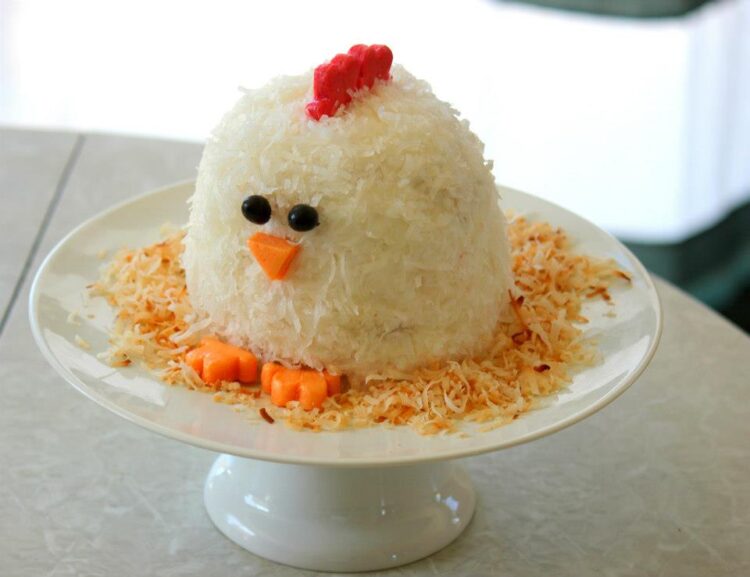
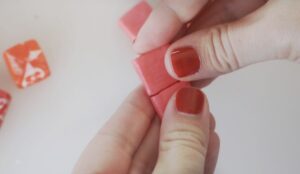
Starburst candies are actually really easy to work with. When you hold them in your hand they begin to soften and are easy to mold. We used red for the chicken comb and orange for the beak and feet.
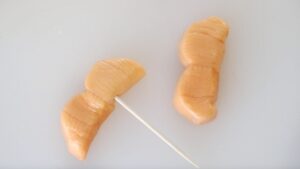
For the beak, simply use a knife and cut 1 Starburst candy into a triangle. Add a toothpick to the back and stick it into the cake.

For the comb, press a couple of candies together and use a cookie cutter to shape them. We used a small teddy bear cookie cutter, but there are so many that would work.
Use the same technique for the feet, only use orange Starbursts and place them (using toothpicks) through the cake on the bottom.

Add a handful or two of toasted coconut to look like straw and your little cake is complete!
More Easy Cakes To Make
Chicken Cake Tutorial
Chicken Cake
What I love about this cake is how simple it is to put together. You can make everything from scratch or you can buy cake mixes and a tub of frosting.
Pin Recipe
Yield: 6
Cost: $10
Equipment
- 6" cake pans
Materials
- 3 6" round cakes
- frosting
- starburst candies
- 1 large black jelly bean
- 2-3 cups shredded coconut
Instructions
- You can easily make 3 (6″) cakes out of two boxed cake mixes. I filled the pan with about 1 ½ cups of cake batter.
- Level off two of the cakes, but leave the 3rd as is. Then stack them, frost them, and shave the top to have a bit more of a dome shape.

- Cover the entire cake with frosting then cover in coconut. Reserve some of the coconut to toast and use for straw in a later step.

- Cut a jelly bean in half, placed a toothpick in the back of each section, and place it on the cake for the chicken’s eyes. If you can’t find a jelly bean you can use milk duds, chocolate-covered peanuts or M&Ms.
- Unwrap Starburst candies and warm them in your hand.

- Cut one in the shape of a triangle for a beak. Press a toothpick into the back and stick the beak onto the cake.
- Press a few of them together to make a rectangle. Use a cookie cutter or knife to shape into feet and a comb. (Watch my video to see how I did this) Use a toothpick to attach the comb and feet to the cake.

- Heat oven to 400 degrees. Add a cup of coconut to a baking sheet and bake until coconut is golden. Watch carefully because when it starts to brown it can burn easily.
- Add toasted coconut to the base of the cake to look like hay.

Video
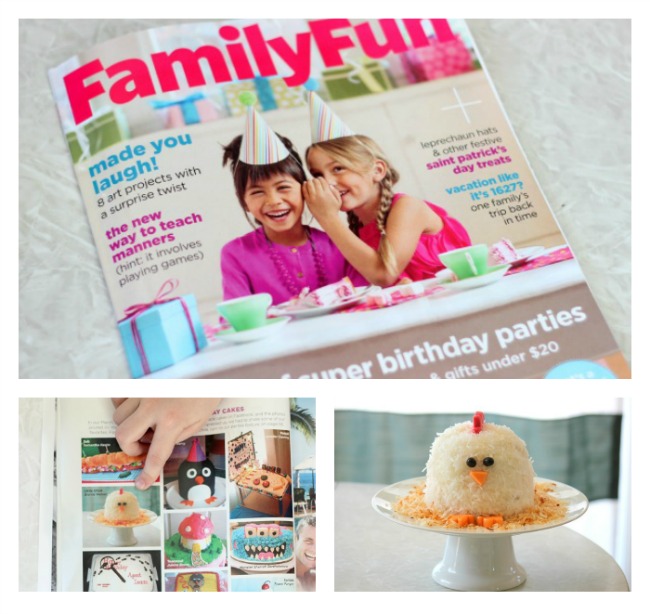
This darling cake was featured in a 2014 issue of FamilyFun. What an honor!
Laura says
Thank you for posting this tutorial! My son requested a chicken cake, and yours was by far the most helpful post.
Brandy says
Laura, I’m so glad! Happy birthday to him!
Jennie Larsen says
Totally adorbs. I love him. Shared your cute chicken cake on my COM-FB page. hugs, jen
Brandy says
Thanks so much Jen! What an honor!
Jenn @ Clean and Scentsible says
This is so incredibly cute!! Love it!
LuAnn Braley says
Congratulations on being featured on Strut Your Stuff Saturdays at Six Sisters' Stuff! I am a new follower/subscriber.
What a darling l'il chicken cake. You are so creative. Can you adopt me before my next birthday? :O)
Brandy says
Thank you LuAnn!
wearychef.com says
Hi. I saw you featured at Six Sisters' Stuff, and you so deserve it! This cake is surely one of the cutest things I have ever seen! Love it!
Brandy says
Thank you so much! It was so fun to make!