
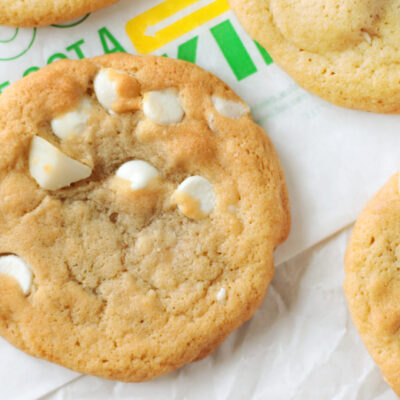


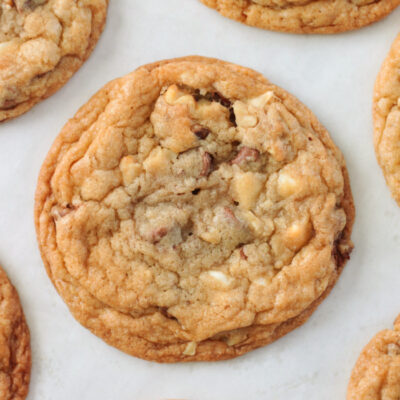
These white chocolate macadamia nut cookies are soft and chewy. They look and taste just like Subway white chocolate macadamia nut cookies—actually, they are better! Do you like copycat recipes? I have an ENTIRE COLLECTION of famous copycat chocolate chip cookies! From Levain to Chick-fil-A— you can find all of the recipes here! Watch our step by step video! Perfectly…
Read More
Latest from the Blog

Copycat Subway White Chocolate Macadamia Nut Cookies
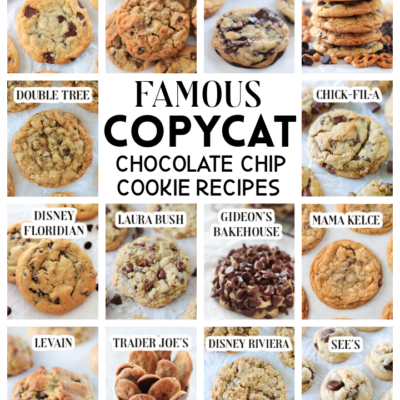
Famous Copycat Chocolate Chip Cookie Recipes
From Chick-fil-a to Subway and Levain to Double Tree, here are the most famous copycat chocolate chip cookie recipes! You might also like our bakery-style peanut butter cookies (better than Grandma’s brand peanut butter cookies!) The Best Copycat Chocolate Chip Cookies Two years ago I made a list of famous chocolate chip cookie recipes that I wanted to either make…
Read More
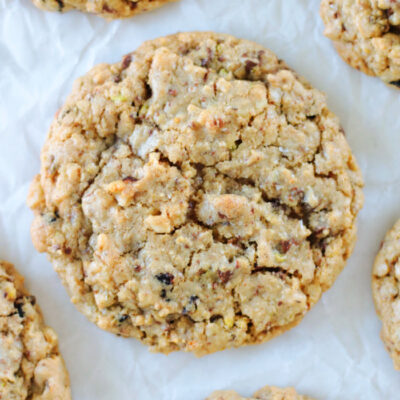
Disney’s Riviera Signature Cookies
Disney’s Riviera Signature Cookies are loaded with chocolate, walnuts, pistachios, and dried cherries. The same ones served at the resort! You might also like the famous Jacques Torres chocolate chip cookies, our copycat Subway chocolate chip cookies, Disney’s Grand Floridian chocolate chip cookies or our copycat Gideon’s Bakehouse cookies. Watch our step by step video! I’ve been on a mission…
Read More
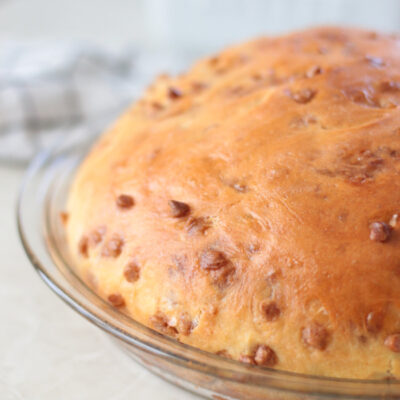
Copycat Great Harvest Cinnamon Chip Bread
Our copycat Great Harvest cinnamon chip bread is delicious with bursts of cinnamon in every bite. This recipe makes two loaves. You might also like our cinnamon swirl bread, our egg bread, or our pull-apart apple bread. Watch our step-by-step video! I’ve never been fortunate enough to live next to a Great Harvest Bread store so I pick up a…
Read More
Mama Kelce’s Chocolate Chip Cookies
Loaded with white chocolate chips, milk chocolate chips, nuts, and a hint of cinnamon, Mama Kelce’s chocolate chip cookies are amazing! Crispy on the outside and chewy in the center. You’ll love them! You might also like the famous Jacques Torres chocolate chip cookies, copycat Subway cookies, or copycat Gideon’s Bakehouse chocolate chip cookies. Watch our step by step video!…
Read More
Gluesticks Has Been Featured On
